|
On the very first day when we walked into class and Mr. O'Donnell told us to go take some pictures, I had no idea what to do. I'd always enjoyed taking pictures on my phone, but I barely knew how a camera worked. Since then, I've taken pictures and adjusted the camera's settings in more ways than I could've imagined, such as macro, panoramic, and even things as simple as adjusting the ISO, SS, and aperture. Now, I feel entirely confident that if I were randomly told to go out and take photos, that they would actually turn out to be good quality pictures. The photo of my cat was one of my earliest pictures I took for this class. It is one of the worst pictures I took for many reasons, such as the composition, the blur, etc. The cactus picture is one that I took for my Macro assignment. It is my best and my favorite picture that I have taken because I love the coloring, the composition, and overall just the way it turned out.
0 Comments
In this project, we chose 3 different puns that we wanted to visually represent. Then we used photoshop to combine images that show the pun. These are my three: 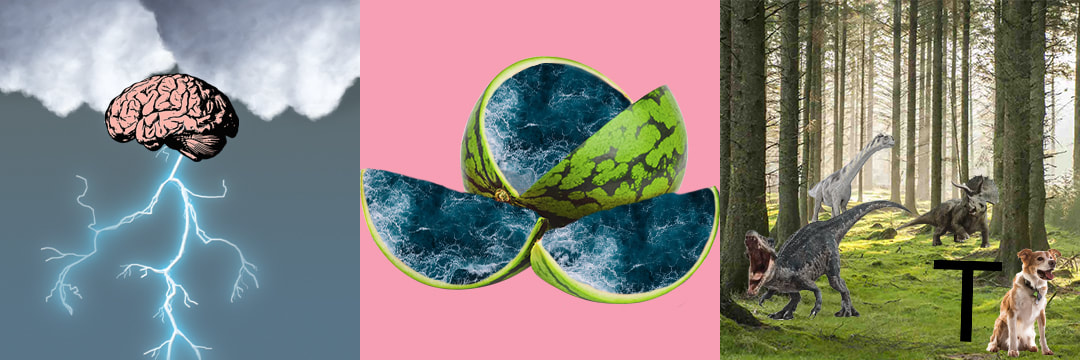 In this assignment, learned how to open different documents in one photoshop project and then later combing them. I also got better at putting many pictures onto one file and arranging them so they look the way I want.
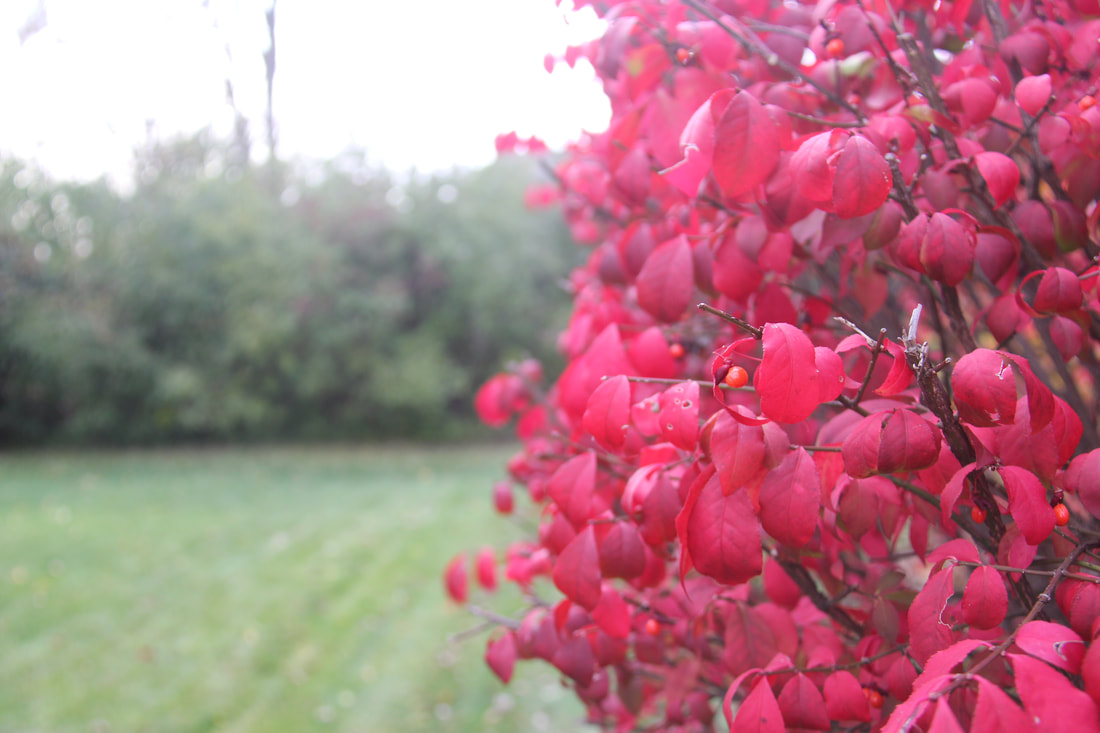
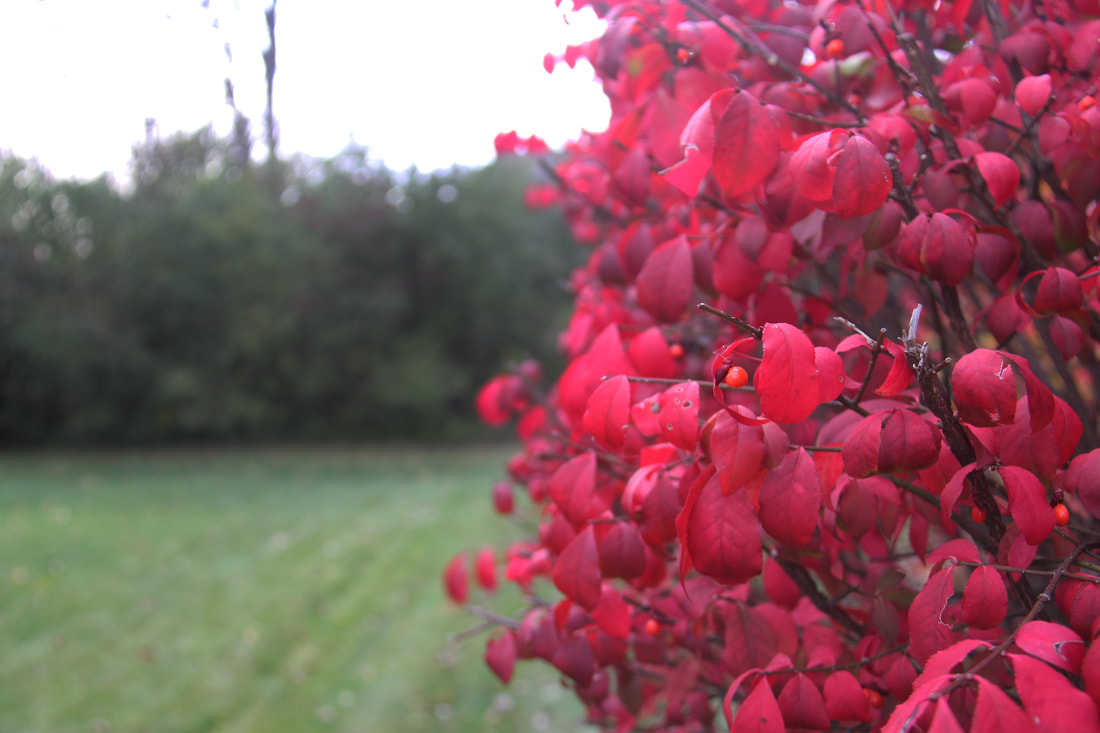
For our last photo assignment, I did Nature. I got pictures around my neighborhood of the trees in the fall with their changing leaves. This is my best picture before and after I edited it: For the edit, I changed the contrast and darkened it. Aperture: 4.0 Shutter Speed: 1/160 ISO: 320 Next best five: Summary: In this assignment, I got better at using angles for composition. I also had fun going around my neighborhood and finding the most colorful trees.
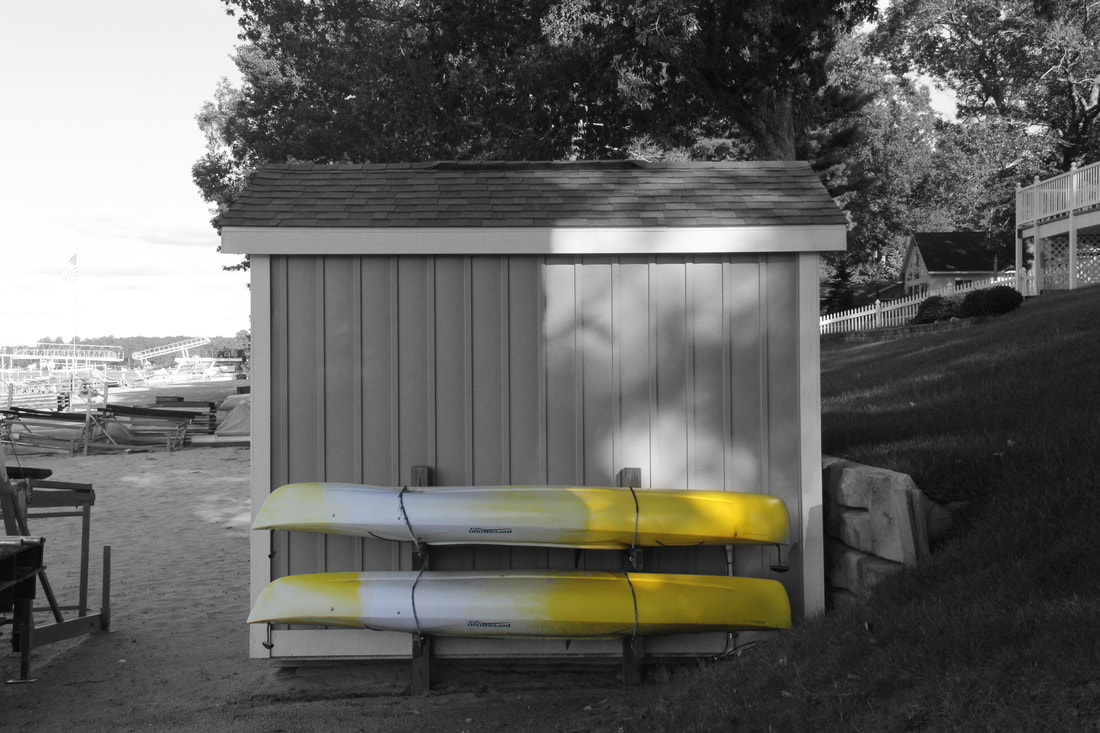
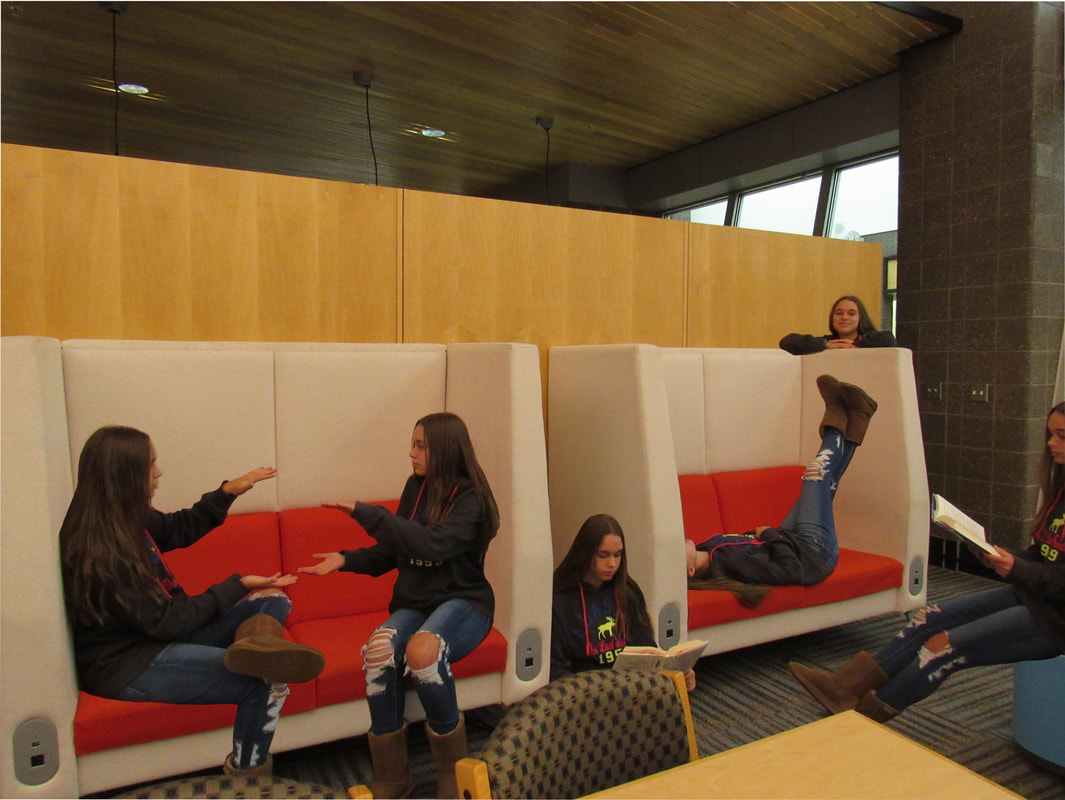
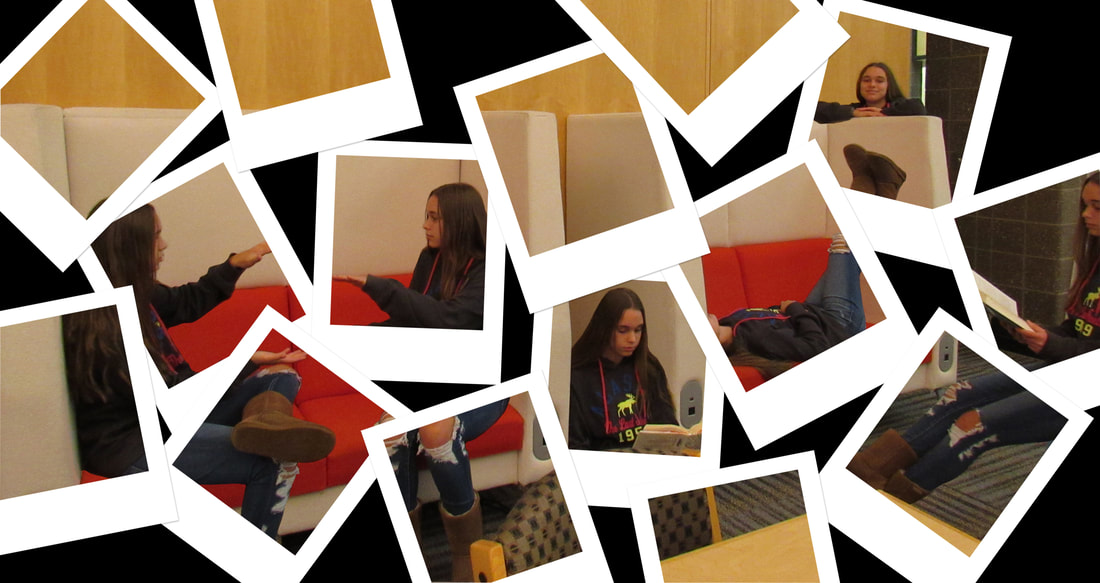
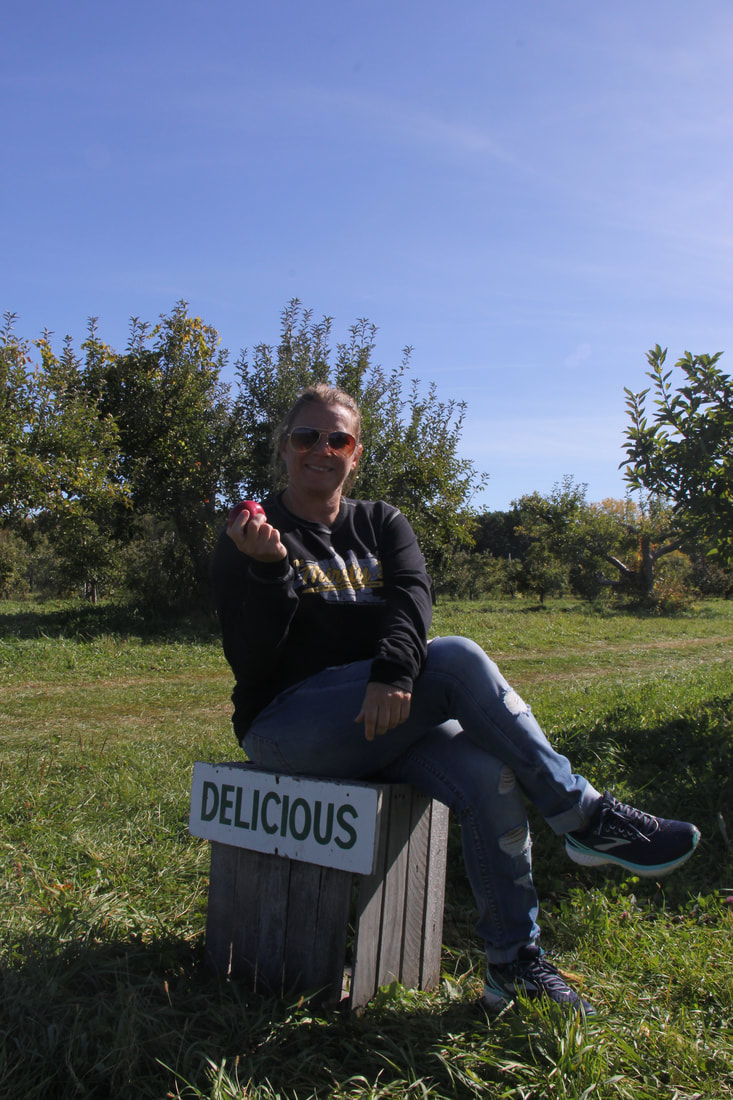
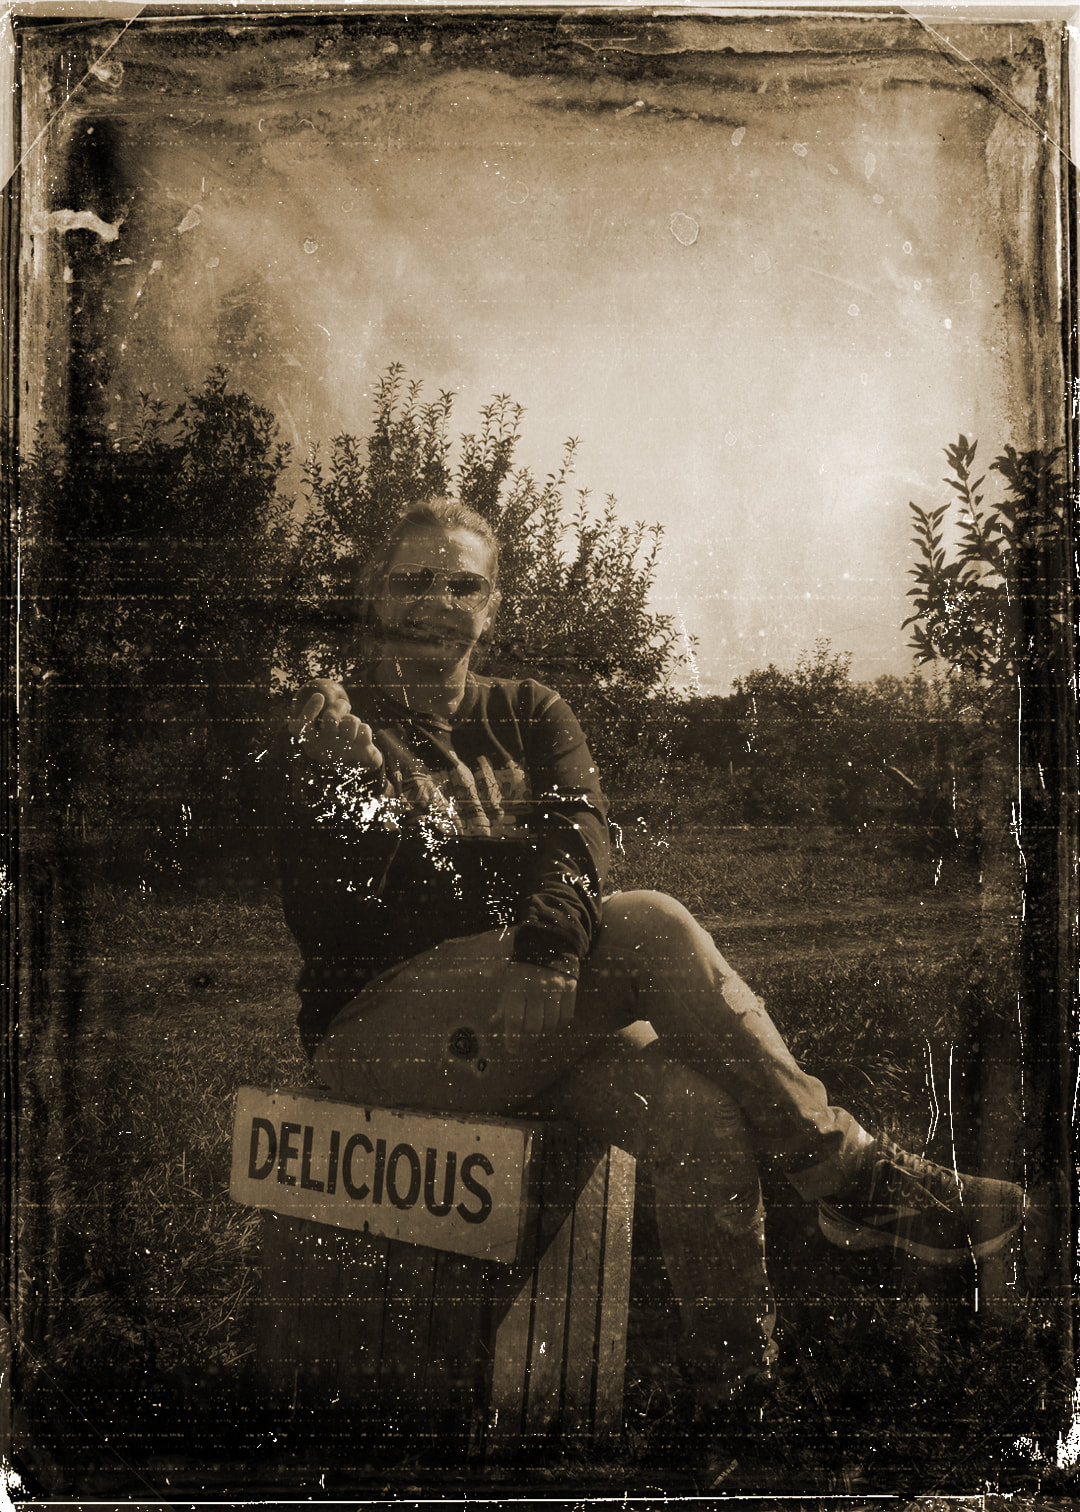
During this assignment, we found photoshop tutorials. We got to choose which ones to use and we followed the instructions, making edited pictures. These are the before and after edit pictures: Link 1 (dash of color): https://digital-photography-school.com/mono-with-a-dash-of-colour-photoshop-cs2-tutorial/ Link 2 (Polaroid): https://www.photoshopessentials.com/photo-effects/polaroids/ Link 3 (Old daguerreotype): https://www.youtube.com/watch?v=RS6OooobAsM I learned how to use multiple layers and make copies of them at the same time. I also learned how to use the history brush, and how to fit different layers to each other before changing their visibility. Dash of color was about making the picture mono, and then bringing back the color of just one thing. It was really easy and there were only a few steps. The polaroid one was about giving the appearance that there was a collage of polaroids revealing the whole picture. This one was harder and some of the steps were kind of confusing, but it mostly just took a long time. The daguerreotype project was about giving the picture an old, scratched up look like what might have come from a long time ago when cameras were much newer. This one was also a bit harder, but mostly because you had to reveal the layer in just a certain way that they fit each other.
|
Archives
November 2019
Categories |
 RSS Feed
